Getting Started
This guide will get you started with Kriten. We will use kriten-example repo to demonstrate onboarding a script into kriten and launch it. By the end of this guide, you will learn how to:
- login into Kriten
- create a Runner
- create a Task
- launch a job against configured Task
Kriten-community-toolkit public repo contains simple kriten examples ("https://github.com/kriten-io/kriten-community-toolkit/tree/main/examples"). We will be using python script hello-kriten.py. That script demonstrates Kriten capability to expose input parameters and secrets to the automation script at the time of execution - this script simply reads them and prints out into Stdout. Input parameters as supplied at the time of launching a job by a user and exposed as EXTRA_VARS json string in the running container, and secrets supplied at the time of creating a runner by the admin user and those secrets stored as kubernetes secrets and exposed to the automation script as ENV VARS & as files in /etc/secret in a running container.
Kriten UI
Open a browser session to the Kriten UI (http://kriten-ui.example.com in the installation example).
Login
Kriten requires user to authenticate. After installation the local admin user is created with the following default credentials root/root.
To login into Kriten as following:
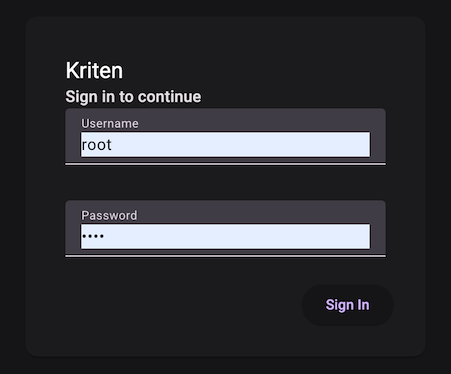
On successful login, Kriten UI stores a JWT token.
Token timeout is defined as a configuration parameter at Kriten's installation, default is 3600 sec.
Create Runner
Runner creates an environment, or one can think of it as Project, and maps following settings:
- Git repository and branch (Kriten may need a personal access token or PAT if repository is not public)
- Container image, containing all required packages to execute target code from this repo
- Secrets, required for any Tasks in this project, those will be stored as k8s secrets and will be mapped to Job at the time of execution.
Select Runners and + New
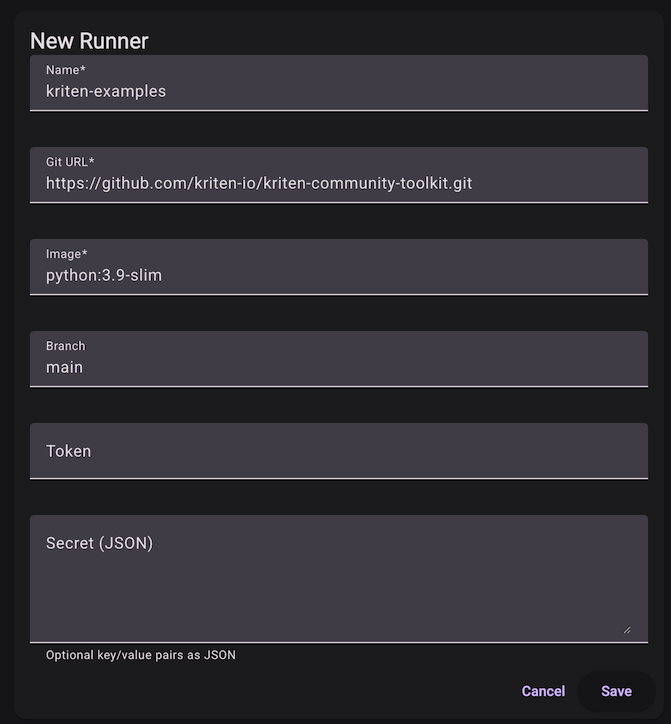
Runner fields reference:
| Key | Description |
|---|---|
name |
Runner name |
gitURL |
Repository with automation scripts and apps |
token |
(Optional) token or PAT is needed for non-public repo |
branch |
(Optional) Code branch, default is 'main' |
image |
Container image from reachable container registry |
secret |
Secrets shared with all tasks associated with this runner, map of key/value pairs |
Add Task
Runner has been created, now we can create a task. Task creates execution endpoint for the target script.
Select Tasks ans + New
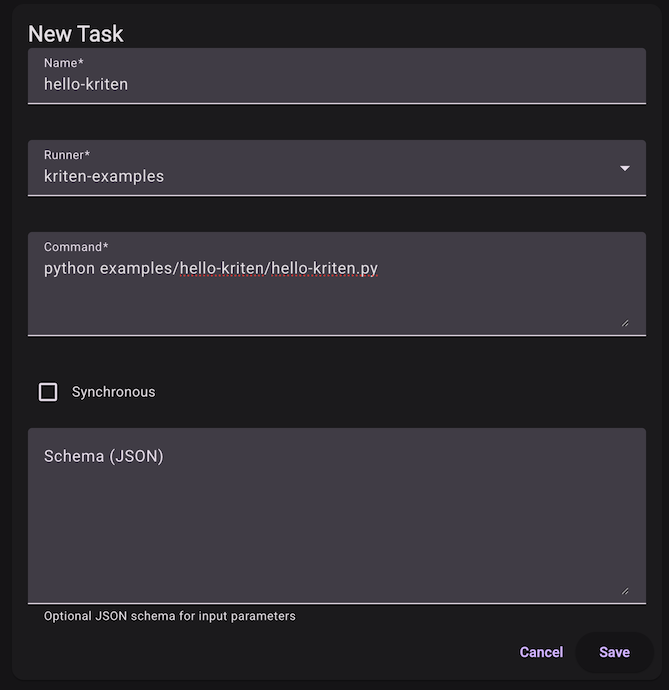
As result, there will be REST API endpoint created for task and available for lunching jobs: $KRITEN_URL/api/v1/jobs/hello-kriten
Task fields reference:
| Key | Description |
|---|---|
name |
Task name |
runner |
Runner name this Task is a child of |
command |
Command to execute automation script with any parameters |
schema |
*(Optional) OpenAPI schema to document and validate input parameters expected by automation script |
synchronous |
(Optional) If true Kriten will execute Job synchronously with timeout of 25 seconds, otherwise assynchronously, which is default |
*Schema validates job at the start and prevents launching job if input parameters incorrect or missing.
Launch Job
Launching Job against that Task can be done by an athenticated user if this user has permissions to do so, defined by RBAC. In this guide we will launch the job as the admin user, which is already authenticated (assuming the token hasn't been expired).
Select Run
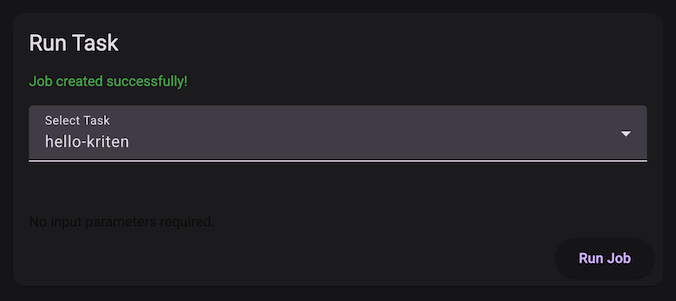
That will launch the job against task exposed as REST API endpoint /api/v1/jobs/hello-kriten. Kriten will launch the k8s Job and return Job ID, which then can be used to check statuc of the Job and read result.
Kriten has ability to capture json data in the Stdout and return in json_data field, if it surrounded by opening and closing delimiter ^JSON.
Also, Kriten can print out Stdout of executed Job by appending /log to the above request:
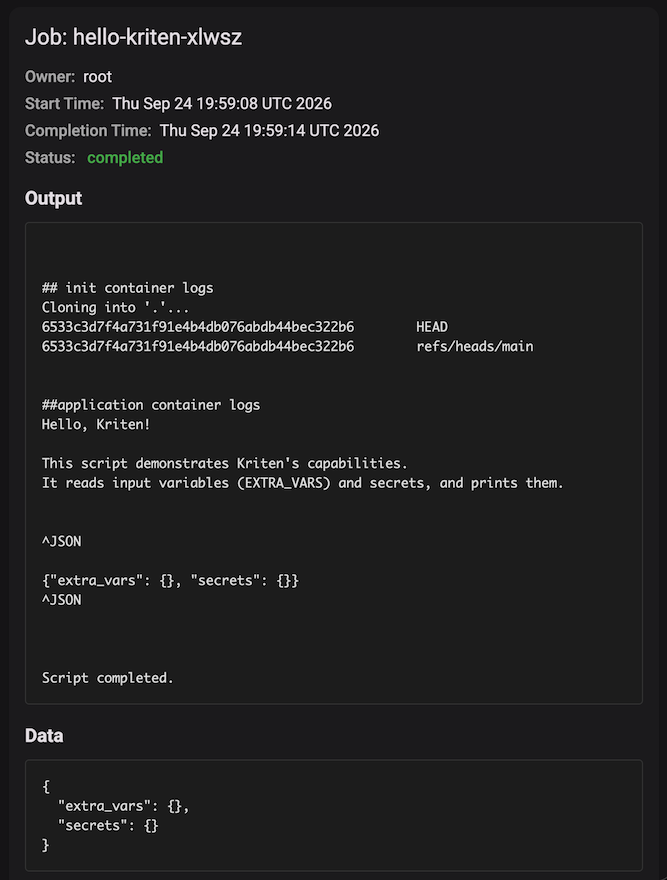
Input Parameters
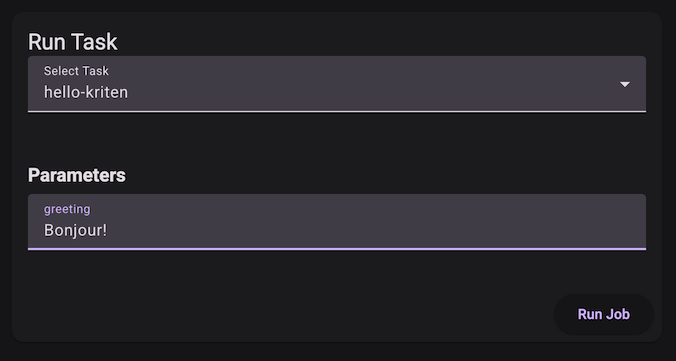
If you define input parameters for a task, Kriten will validate they have been supplied correctly.
A task with no input schema will accept any parameters via the API.
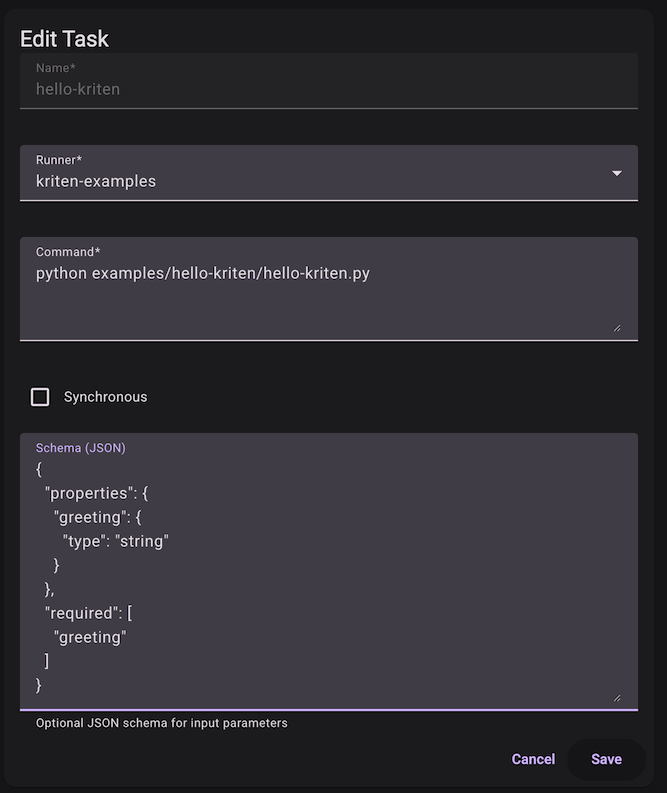
The UI will present input parameters as menu items.
Swagger UI
All operations performed via the UI are available through the API. The Swagger UI documents the API, and provides a way to make API calls.
Open a browser session to Kriten Swagger (http://kriten.example.com/swagger/index.html in the installation example).
Use the /login endpoint to authenticate:
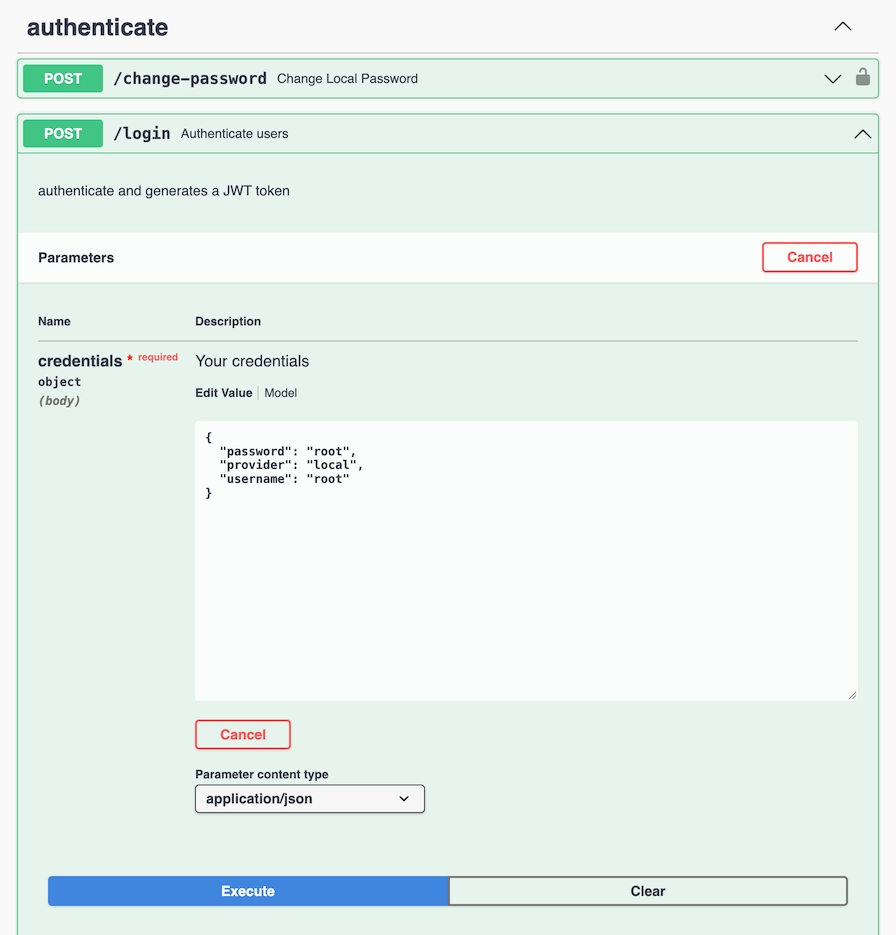
Successful login will return a token.
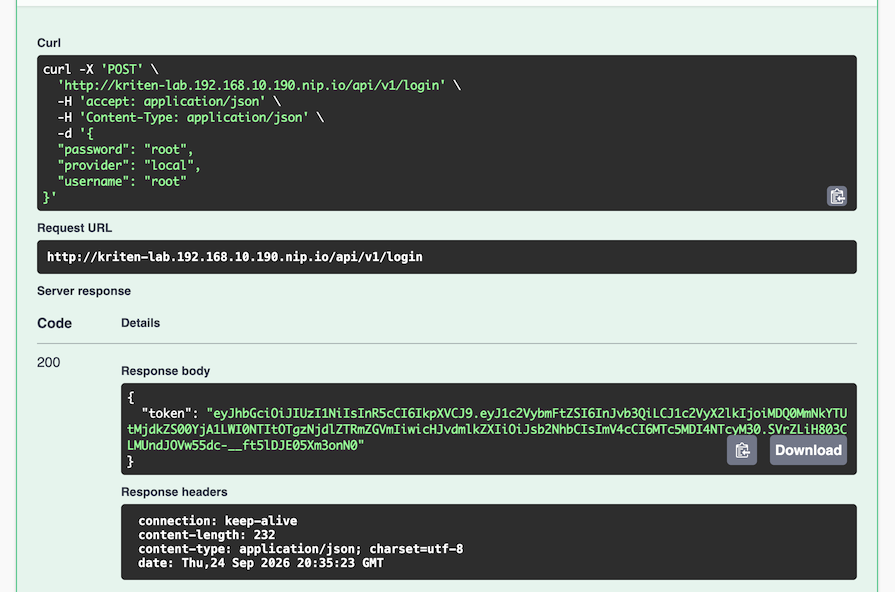
Copy the token (without quotes) and paste into the Authorize value preceded by the word "Bearer"
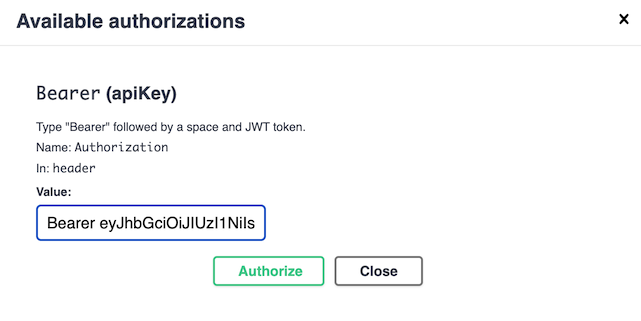
You should now be able to run any API call (if your account is authorised)